
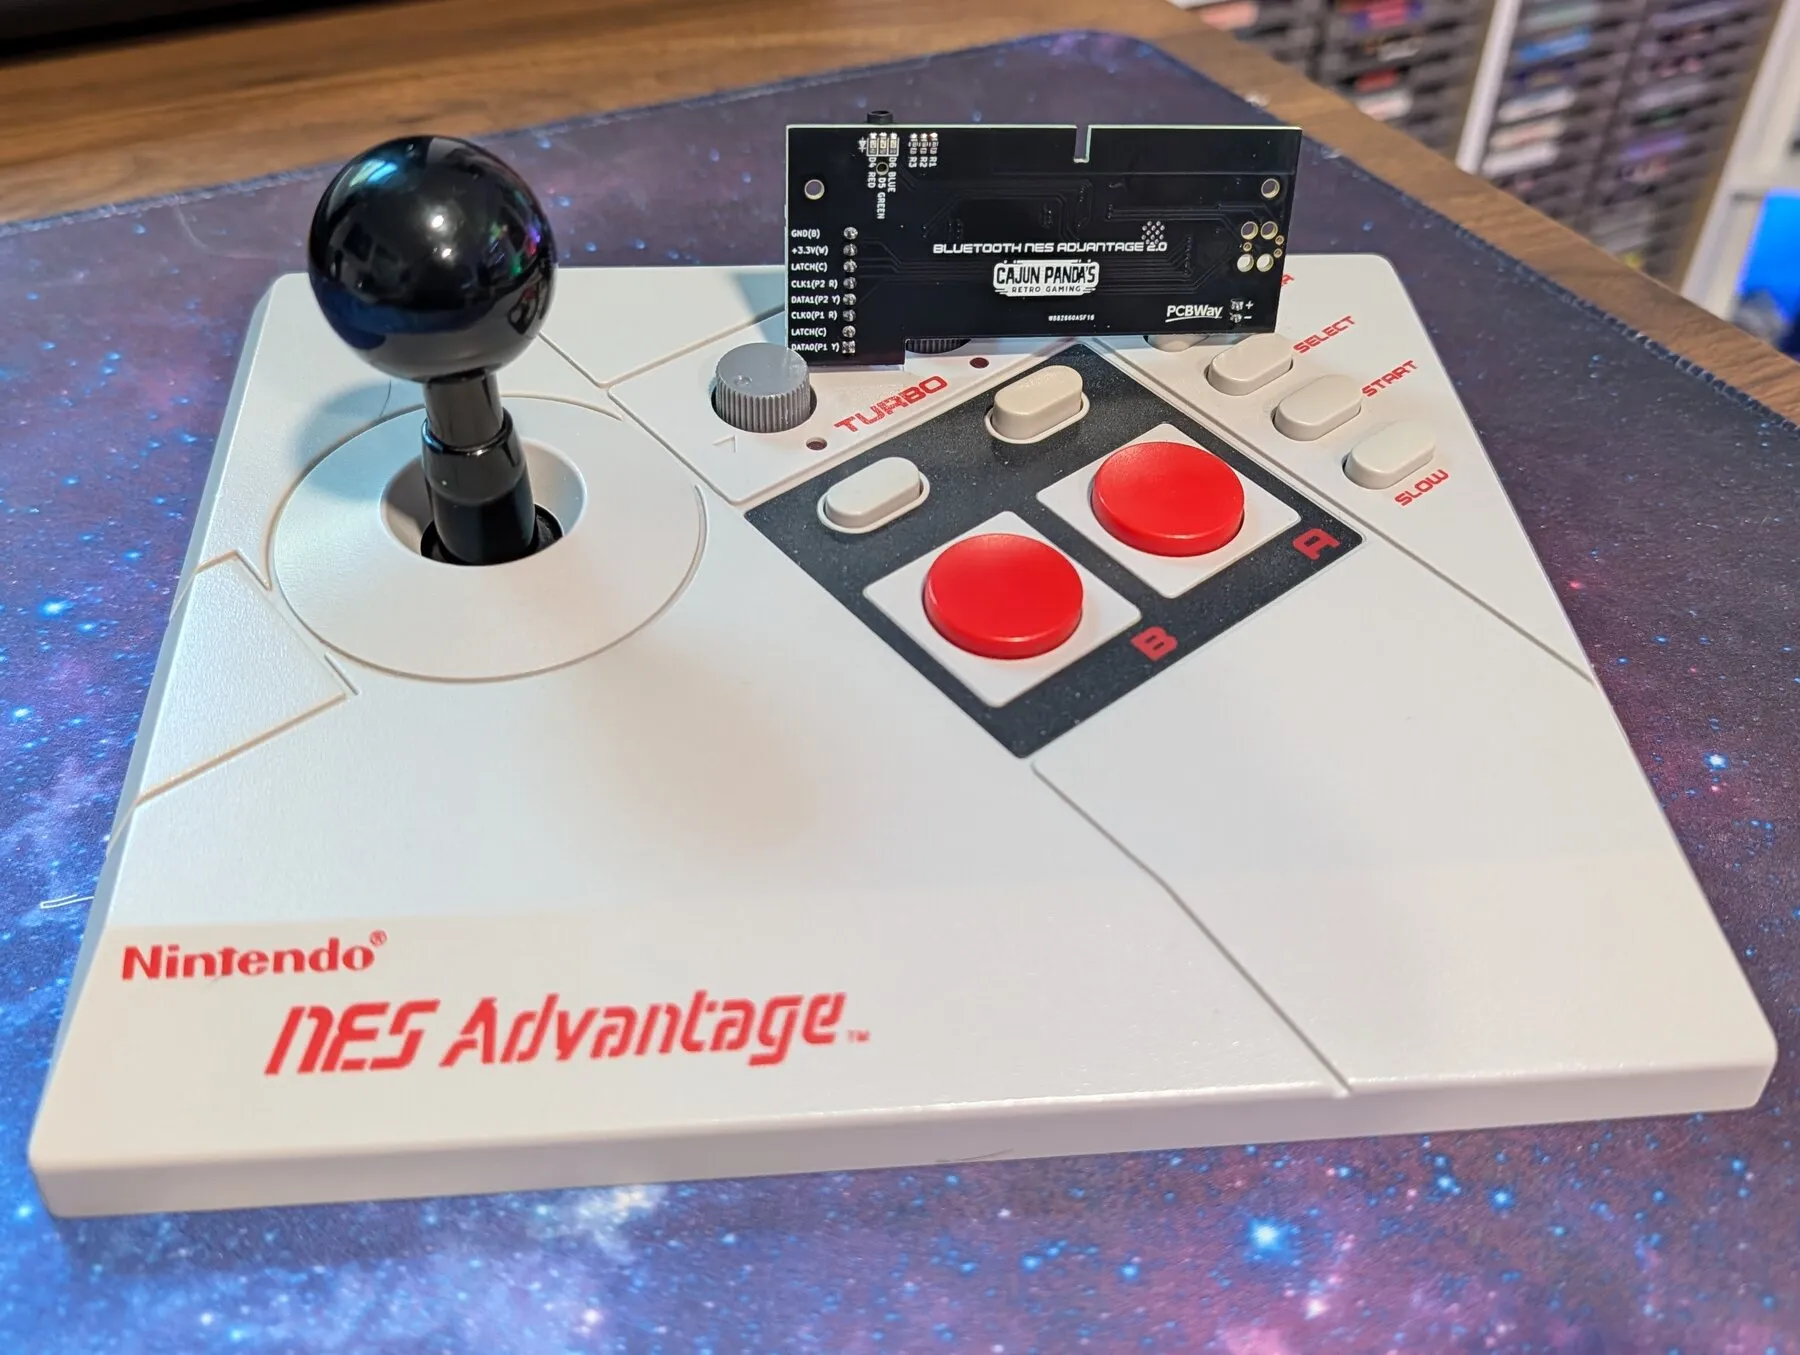
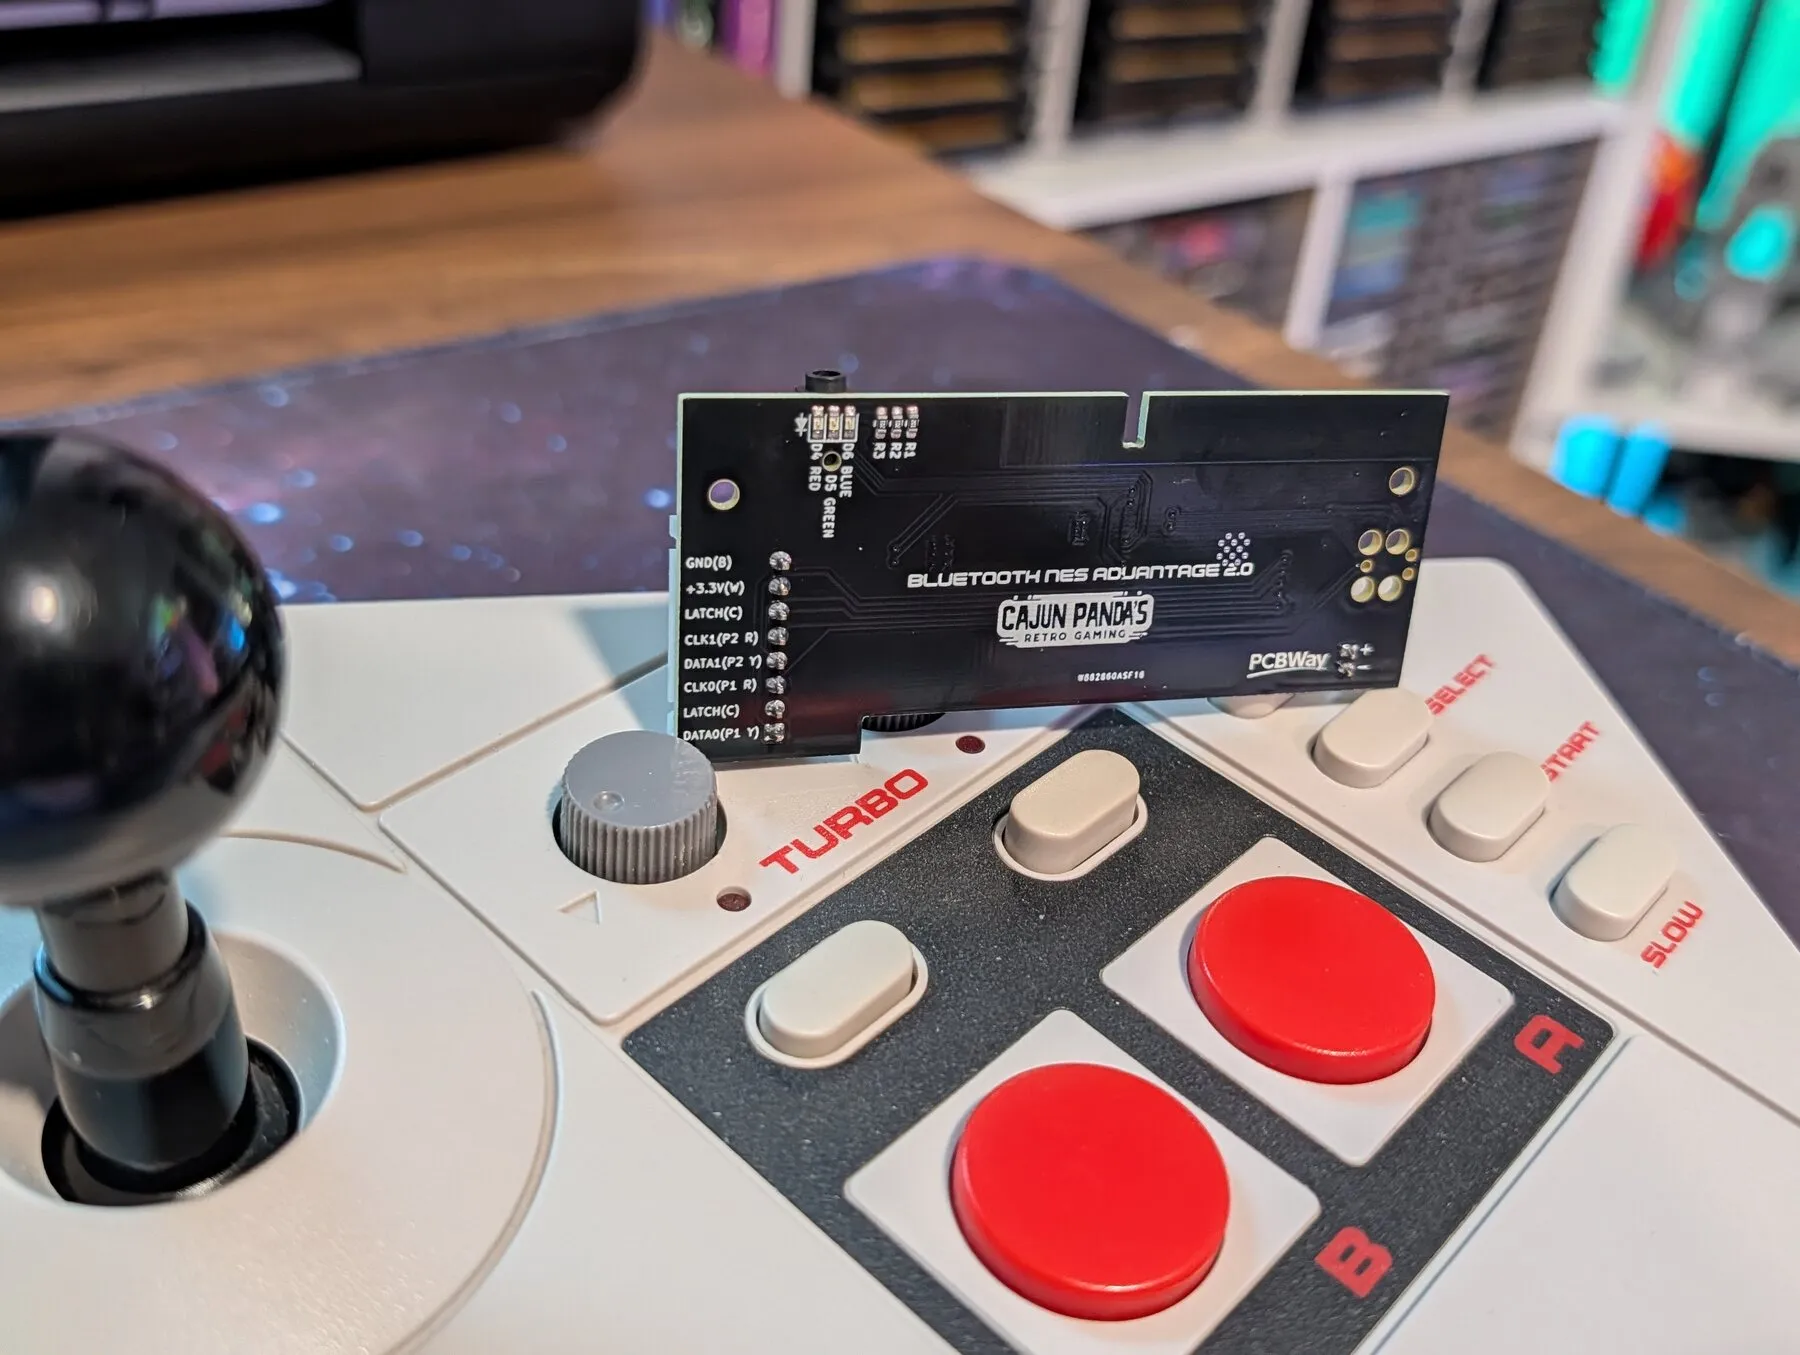
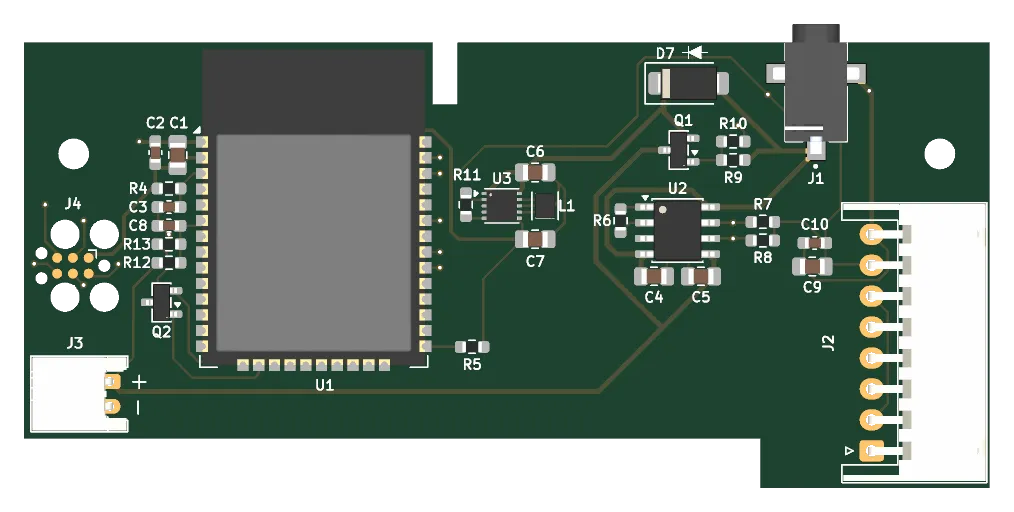
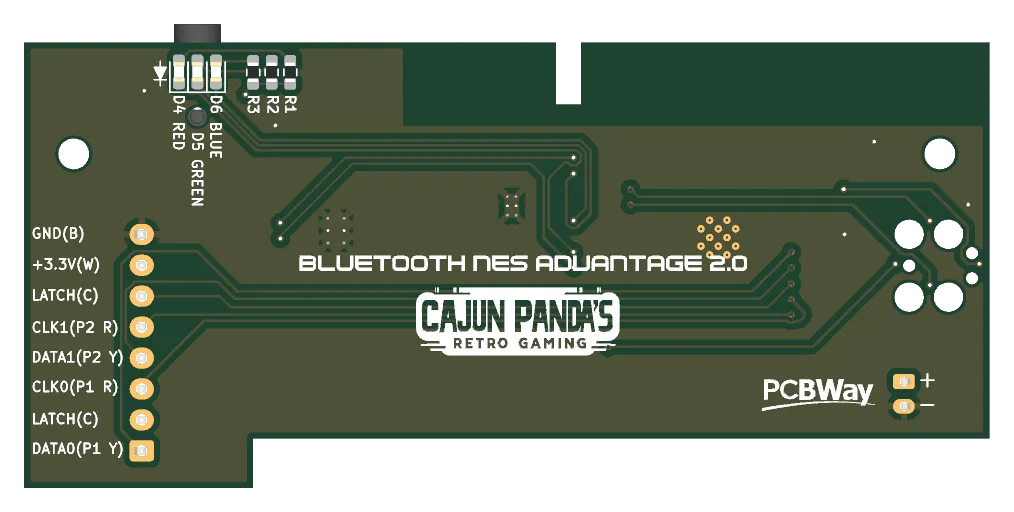
Drop-in wireless retrofit for the NES Advantage (NES-026), the heavy stick-and-buttons arcade controller from 1987. A single custom board takes the place of the controller’s cable, so there’s no case cutting and no added buttons, and it charges through the hole the cable came out of.
The 2.0 board connects three ways:
- Straight to a Nintendo Switch as a Pro Controller, no adapter
- To a real NES through an 8BitDo NES Retro Receiver or a BlueRetro adapter (they make several for the original NES)
- As a standard Bluetooth gamepad for PCs, phones, SteamOS, and emulators
Turbo, slow motion, and the player-select slider all still work. Battery life runs about 17 hours in Switch and Receiver mode and about 37 hours over BLE, and you can keep playing while it charges. Configuration and firmware updates happen in the browser, with no cable or app.
It still feels like an NES Advantage, just without the cord. Firmware and hardware are open source, with the full design and install guide on GitHub.
What’s in the kit
The complete kit has everything you need to convert your own controller, with no soldering and no parts to source:
- Bluetooth NES Advantage 2.0 board, assembled and flashed with the latest firmware
- 1800 mAh LiPo battery
- Plug-in wire harness
- DC barrel plug to USB-A charging cable
- 3D-printed DC jack cover
You supply the NES Advantage (NES-026) controller. The kit is not the controller itself.
The board-only option is the assembled, flashed 2.0 board on its own. It’s a good fit if you already own a v1 kit and want to drop in the new dual-mode board, reusing your existing battery, harness, and charging cable.